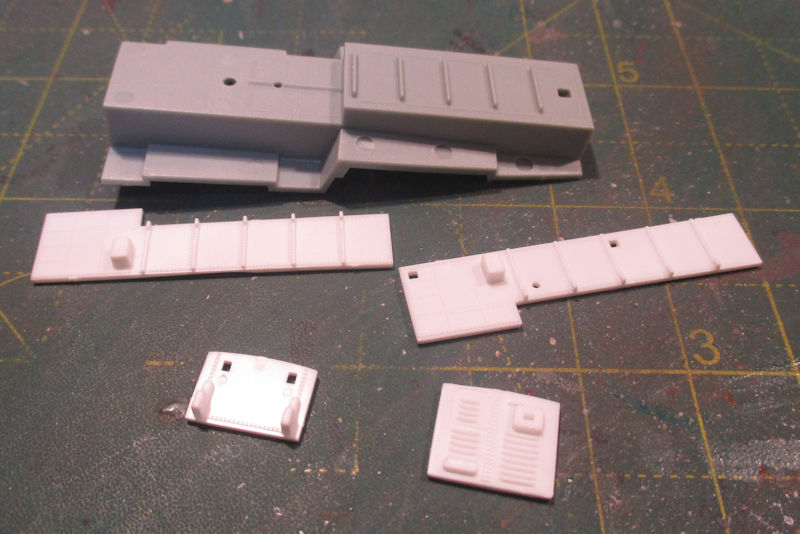
Construction starts with construction of the cockpit ready for painting.
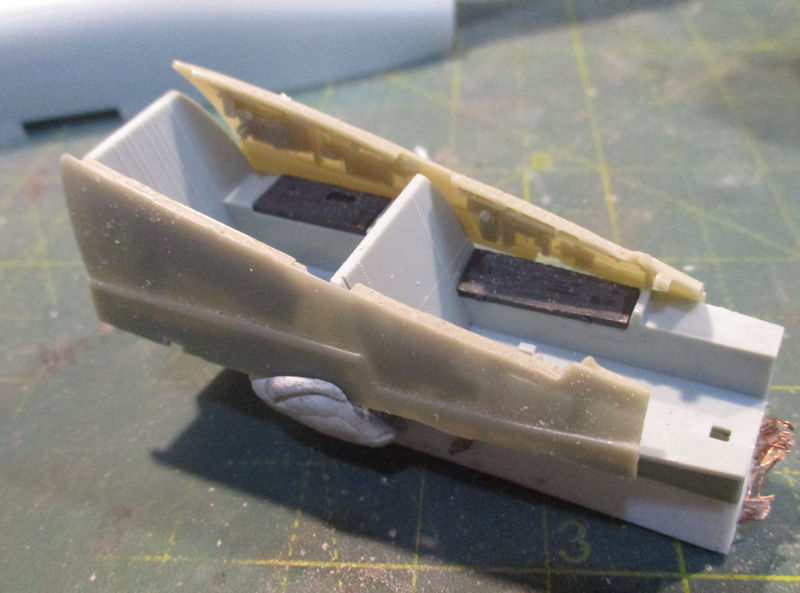
The cockpit tub has the nose gear bay attached.
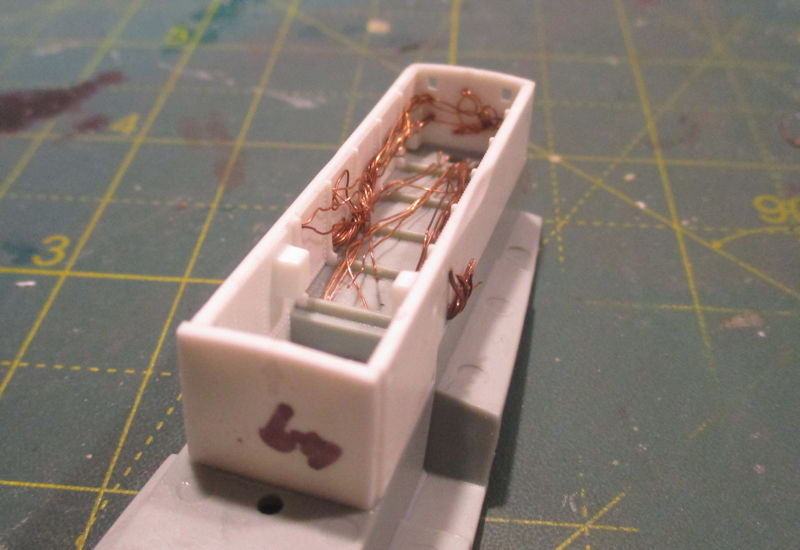
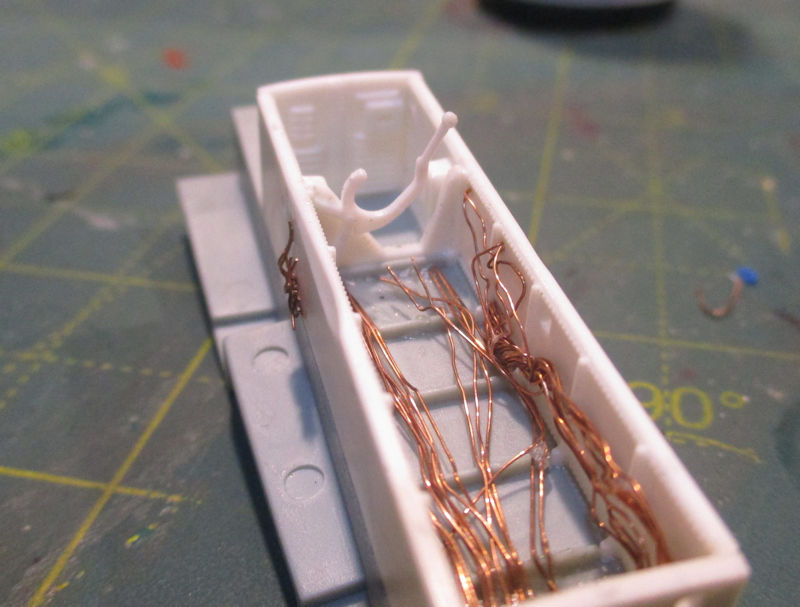
The interior detail is lacking so I used some copper wire stolen from some flex run along the inside to represent witing and pipework.
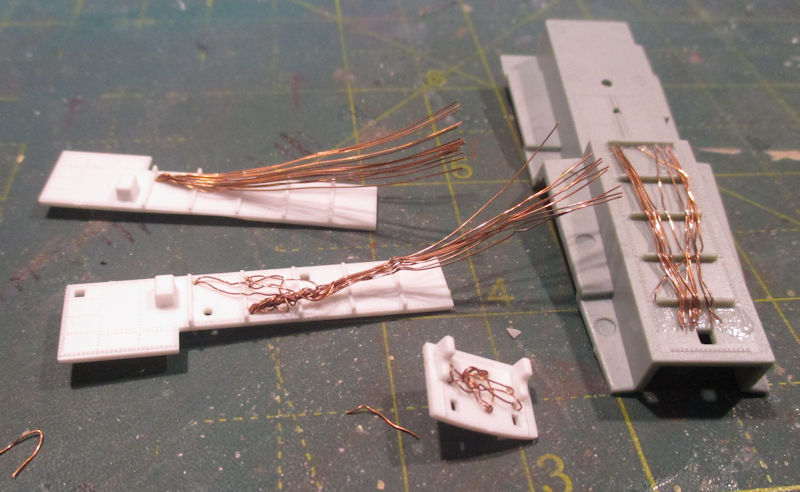
With the bay constructed it looks a lot busier.
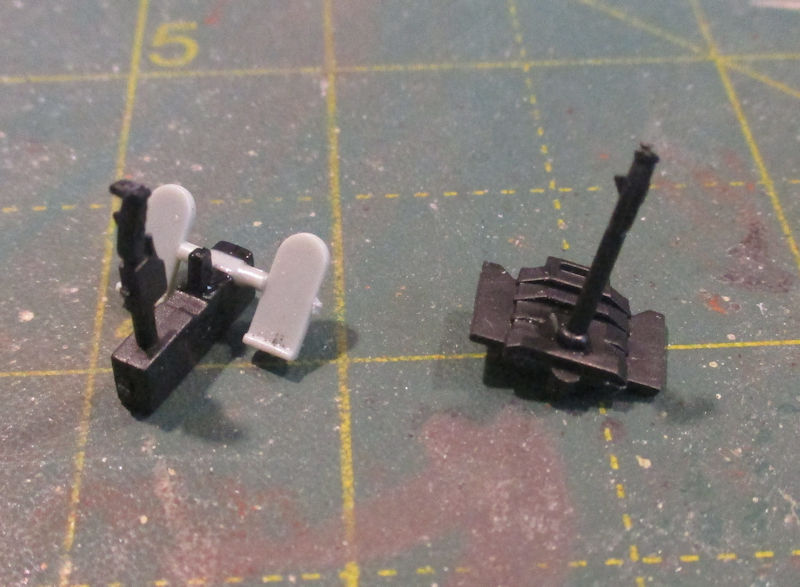
The leg support goes in next. The door closing arm protrudes below the fuselage and is liable to breaking off.
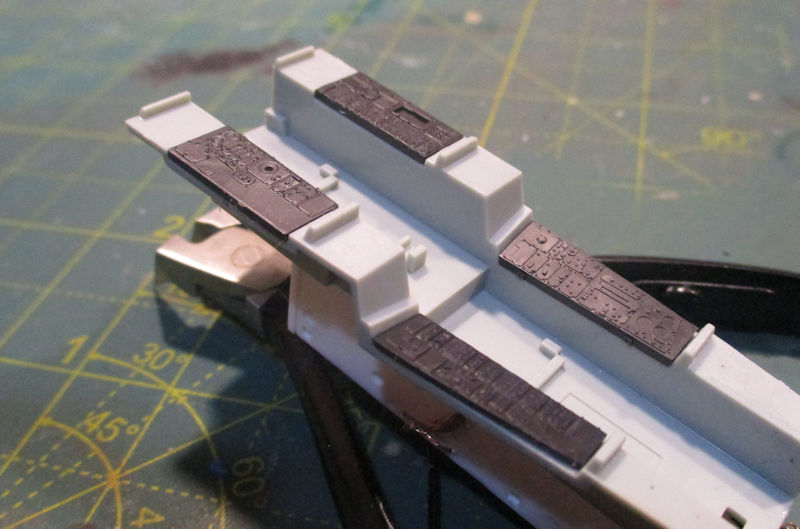
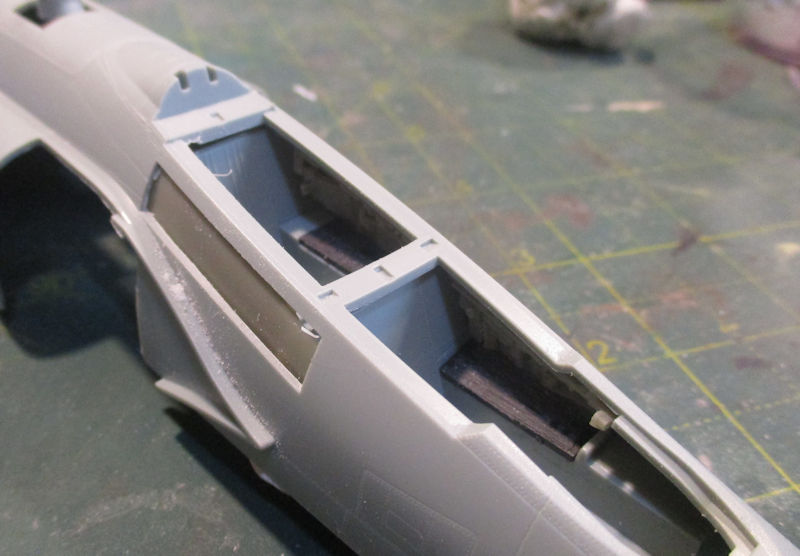
The side consoles are seperate and fit into the sides of the ockpit tub.
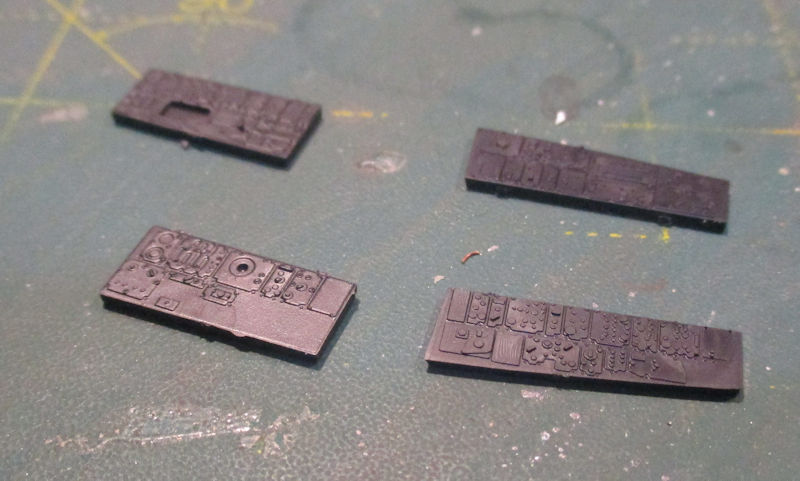
They slip in well and look OK is painted carefully.
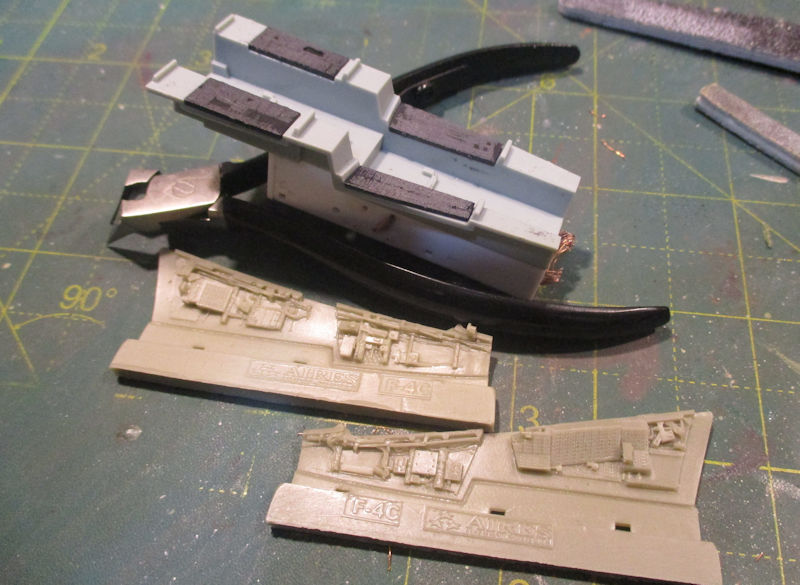
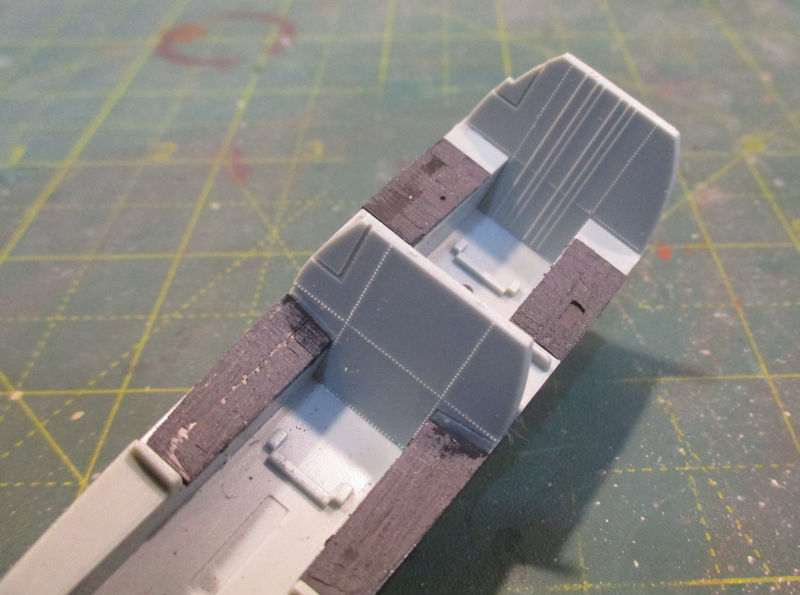
To fit the photo-etch replacement istruments, the kit parts need smoothing out. I am going to try and use the sidewalls from an Aeries resin cockpit set.
There are two bulkheads. The instryctions call for the top left corners removing but I think that's for the navy versions so I will leave them in place.
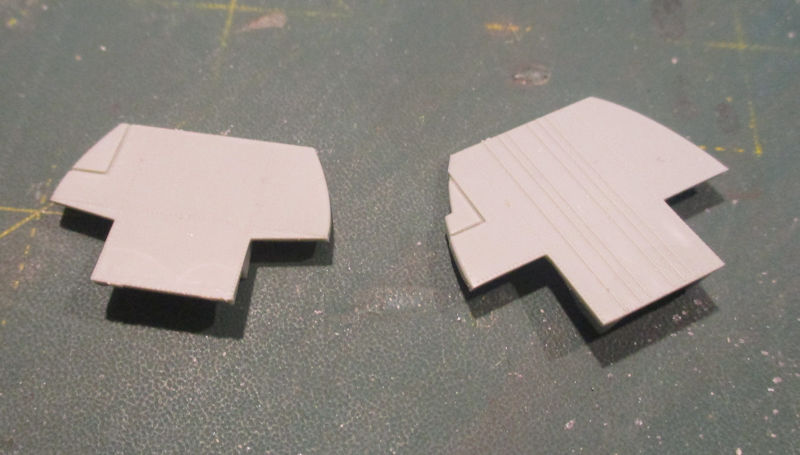
The bulkheads slip into place.
There are nubs to hold the refueling probe for navy aircraft which I decided to remove.

It looks like the Aeries parts will work.
Looks like it fits with the nubs removed.
The control sticks for both cockpits. The front is only two parts while the rear is in three.
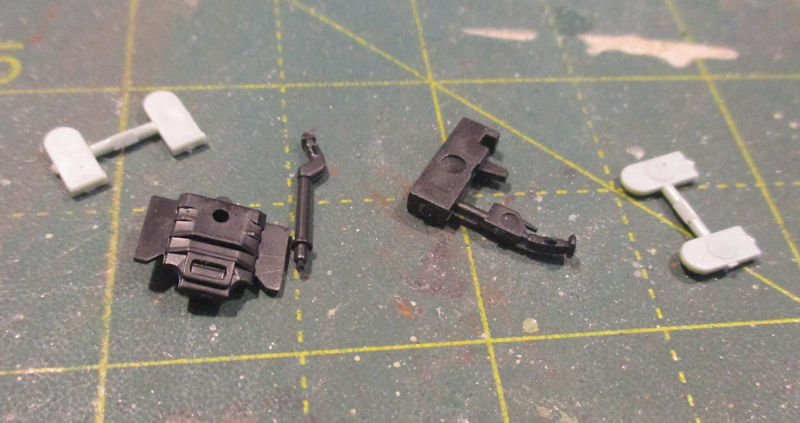
They go together easily. The rudder pedals for the rear cockpit attaches to the tub floor.
Next will be painting and assembling the cockpit.